
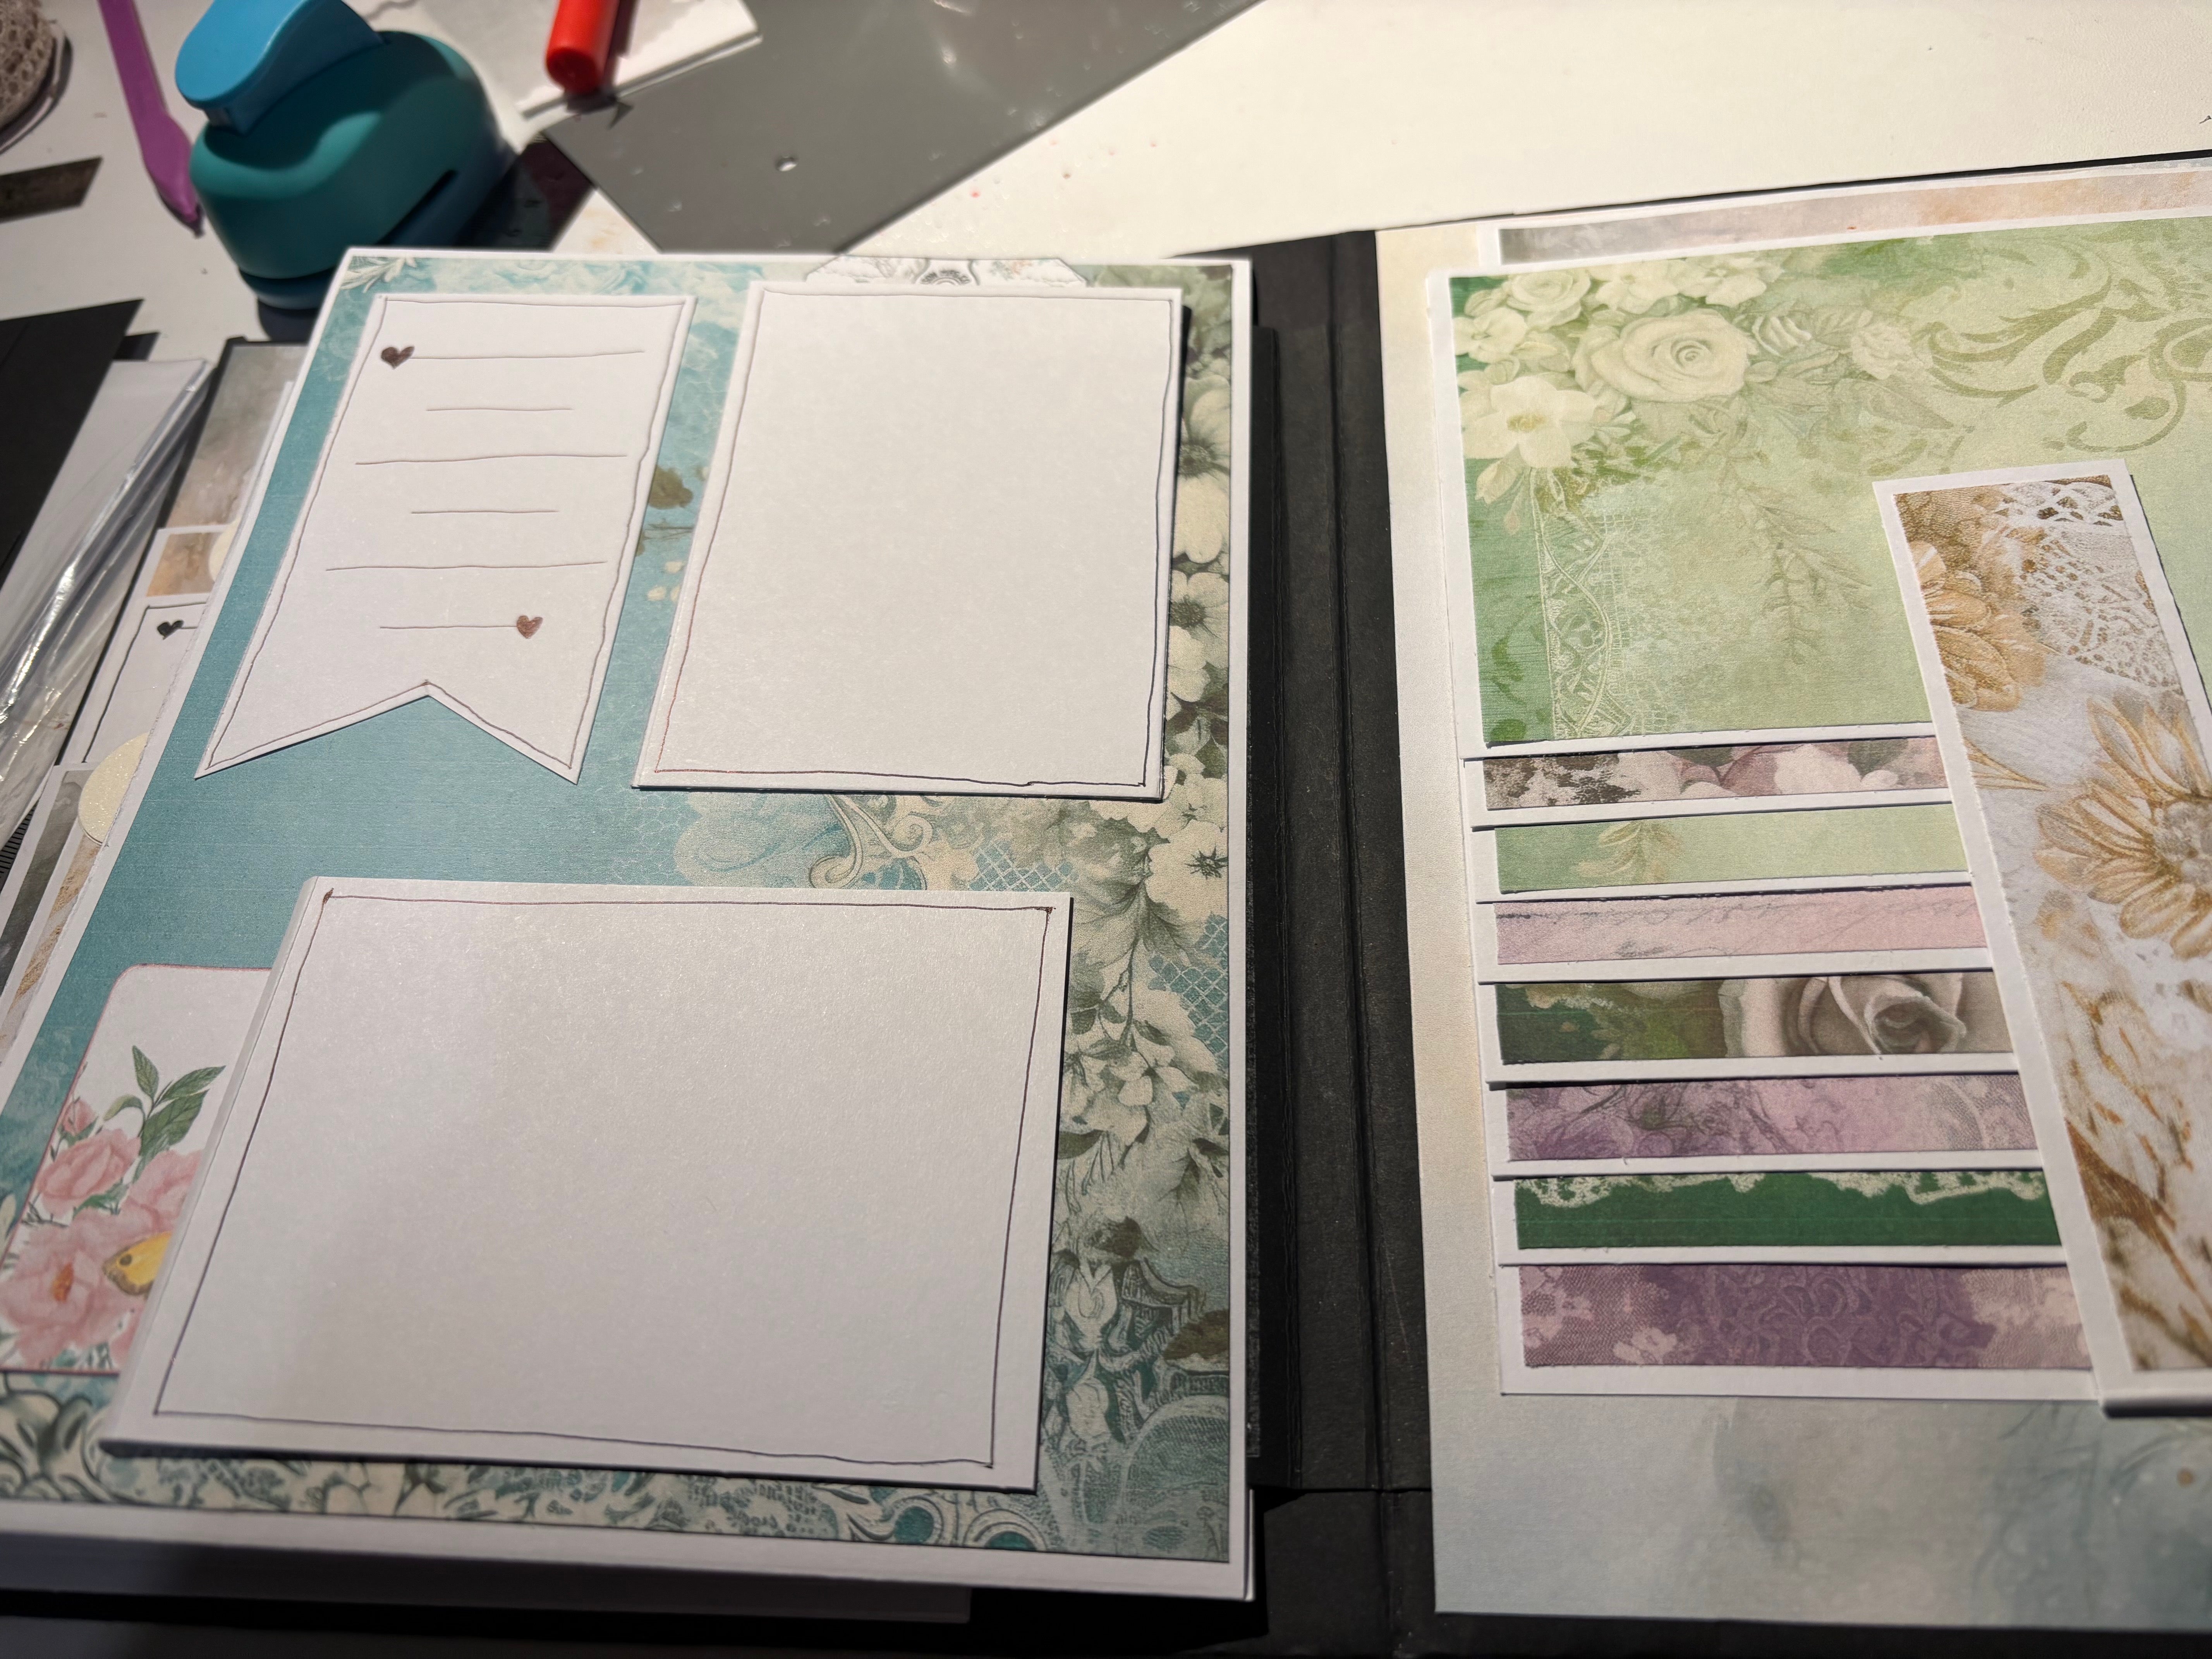
So this is the trifold album that I made for a friend. I used two digital paper packs and printed the paper myself. I used white golden for the cover and some other elements inside, and shabby lace. It has been a bit of a labour of love, taking several days of solid work, but I did enjoy this album, and may end up making one for my next holiday! I added an envelope as an insert, and thought it might be nice for my friend and her son to write a letter to her parents in heaven.
👋 Hey there friends! This is the channel to include any of your own topic ideas that you would like me to expand on during a podcast episode! I would love to know your thoughts, and I would thoroughly enjoy going deeper into specific subjects that you may be wondering about, and the ybm podcasts are a great outlet for this! So please share away!
Help us get to know you! Share where you're based, and a little bit about yourself. Sharing your latest YBM project is a bonus! 😁

in 📚 share-your-projects
January 19, 2025




in 📚 share-your-projects
January 18, 2025


I just finish the Cheer Flip Folio I added more flaps.. I used order paper collection I do not the name but it is from PhotoPlay.

in 📚 share-your-projects
January 17, 2025


Easy Mini Album.
This is my 1st proper attempt at creating an album!
Dear friends of mine had 2 granddaughters delivered within a few weeks of each other at Christmas, & I was suddenly inspired to make two little albums for them.
It's been a lot of fun!
A LOT of re-cutting despite my measuring many times before cutting. It's a trait of mine & absolutely nothing to do with the class. Frances's teaching is excellent & stopped me from making a disaster!
I chose to cover each page or section with its assigned paper before I put it in the album. I felt it would be easier this way.
I tell ya, avoiding being off by that hair's breadth is a doozy! 😆
The paper & ephemera are Kaisercraft Forest Friends. The set is still available but it's at least 2 years old, so it might be rare.
So here is album #1. 💕🐿🐇🦊🍃

in 📚 share-your-projects
January 17, 2025


Okay let’s try this again, my first attempt disappeared! 😱 I’m sure I’m not doing something right. Anyway, I’m making this mini album for a craft swap we have in a FB group that I belong to. It’s a way for members to get to know one another. My pictures aren’t great, but hopefully you get the idea. I want to decorate this to the max. Yes, I can be extra! 😆 Specifically can anyone refer me to a video (or three 😉) that deals a bit more on depth on decorating the spine of my album…..twine, ribbon, tassel, charm, buttons etc? Thanks in advance for any help. 🥰

January 16, 2025
You can make it any shape you want, but your adhesive style will change *lol. Make sure you leave it off or a partial "on" so you can mat the large pocket first before sticking the smaller one on. I'm slapping myself haha

in 📚 share-your-projects
January 16, 2025
• Edited (Jan 30, 2025)


\\\Update\\\ A baby was finally born 🥰. Foster James Geers arrived at 3:46am this morning. Both Mama and Foster are doing great, if not a little tired 😊 He was 8lbs, 1 oz and 21.5” long.
Soooo, here I am, waiting for my grandson to be born. He’s taking his own sweet time, lol. Mama was induced at 5a this morning and so far, not much is happening. However, I finished the baby book for his mama and daddy yesterday and can’t wait to give it to them 🥰!! Maybe I can update that he’s been born later this evening, or tomorrow morning, but for now, here are photos of his book 🩷🥰 - This is the Beginner’s Mini Album
in 📚 share-your-projects
January 16, 2025


Girls night out album made using the mini album tutorial.
January 15, 2025
Process - 3/3 TIP: wanted to throw this in there so you know what to do if you happened to make your large BC Pocket a swoop shape :)
January 15, 2025
• Edited (Jan 15, 2025)
TIP 1/3 - I just folded back my strip piece - then cut along. I do recommend first makers of this class to modeling after the class project would be best ;)
January 15, 2025
• Edited (Jan 15, 2025)
TIP 2/3 - If you do a slightly different angle for your "BC Pockets you'll STILL be totally good to go! ( Abstract Folio - Part Two 35:47 )